To get the printer to 'home' to a zero x, y and z position the controlling electronics needs some feedback to let it know when it's reached a minimum travel on each axis. I'm using opto endstops to do this. They are mounted in a fixed position, and a 'flag', a little strip of aluminium in my case, is attached to the moving part which is carefully alligned to pass through the opto gate, breaking the beam. The photo below shows my x-axis opto/flag and z-axis opto and flag.

I will probably have to adjust these slightly once I have the extruder in place but it was a good exercise to position these, and check that they were working correctly by exercising the "Home" buttons in the RepSnapper host software. I can now move them to any position and they will return to the same zero xyz position when I hit "Home All" button on the Print Tab in RepSnapper!

Here's the y-axis endstop, at the back of the printer. There's a flag in under the print platform.

The z-motors are wired in parallel in the Prusa design: Two motors turning together, lifting and lowering the x-axis assembly. The simplest way I could find to do this was to wire them into a connector block and run from that to the board. I ran the wiring behind the board just for neatness. This pict shows that arrangment with the white 4-connector block:

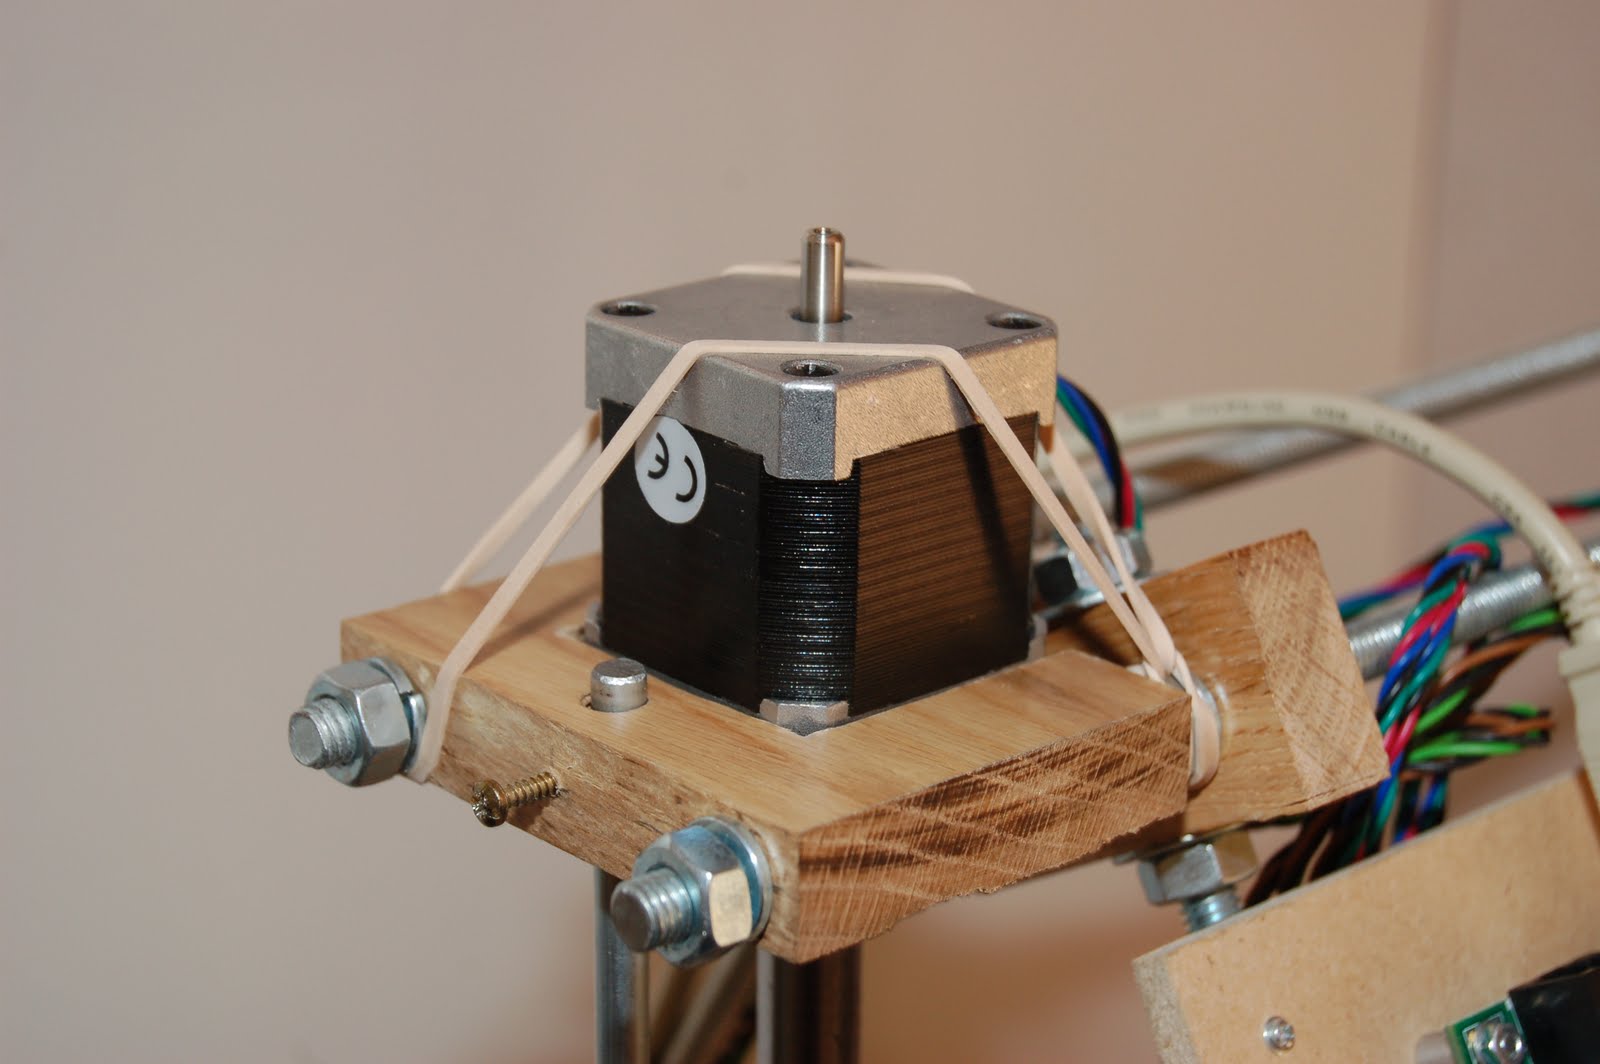
On a final note, the z-axis motors needed a little securing but not much so I just strapped them in with a rubber band! The recess in the mounting block stops them rotating.
Thanks for viewing!
I am stripping the kapton off all my machines when I get home and putting rubber bands on them, smart!
ReplyDelete